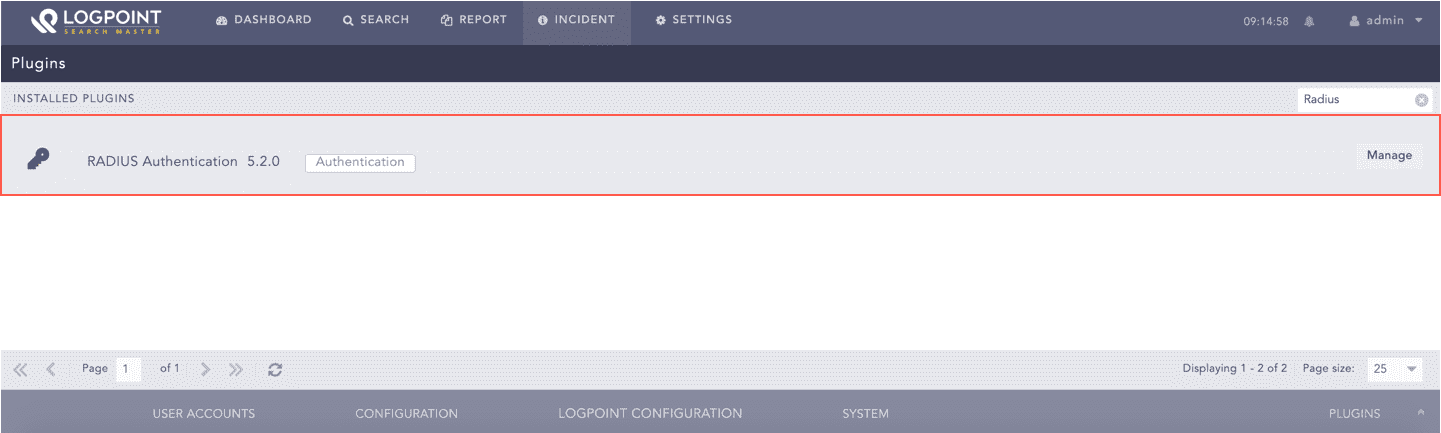
Go to Settings >> System >> Plugins.
Find Radius Authentication v5.2.0 and click Manage.
Manage RADIUS Authentication
Click Add Server.
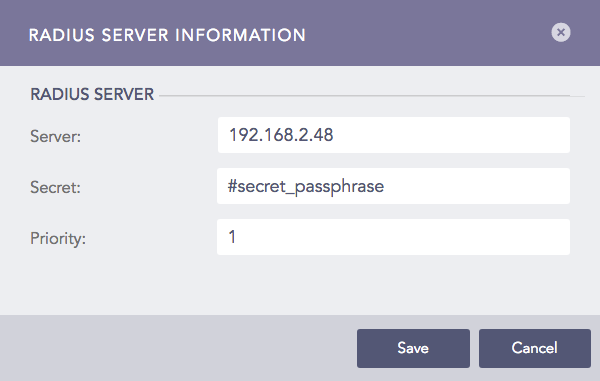
RADIUS Server Information Panel
Enter the RADIUS Server IP Address.
Enter the Secret passphrase of the RADIUS server.
Set the Priority of the RADIUS server in the application, 1 being the highest priority.
Click Save.
Note
If you are adding a RADIUS server for the first time, the application prompts the Default Settings panel.
Click Default Settings.
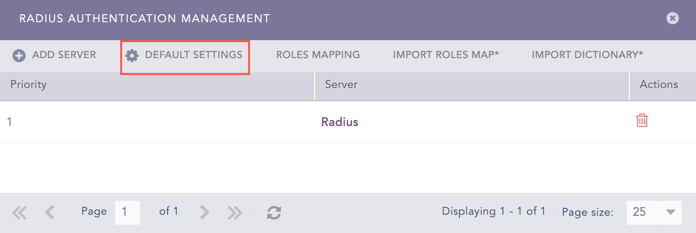
Radius Authentication Management Panel
Select a LPSM user group as the Default Role.
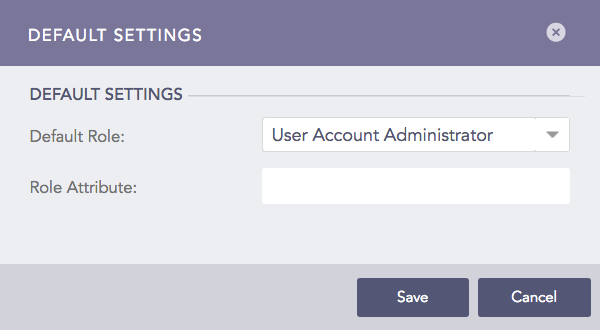
Default Settings Panel
Click Save.
You can map a Radius role to a LPSM user group to define access permission on LPSM.
Follow these steps to map an Radius role to a LPSM user group:
Click Roles Mapping.
Enter a Radius Role.
Select an LPSM user group in the LogPoint User Group field to assign to the Radius role mentioned above.
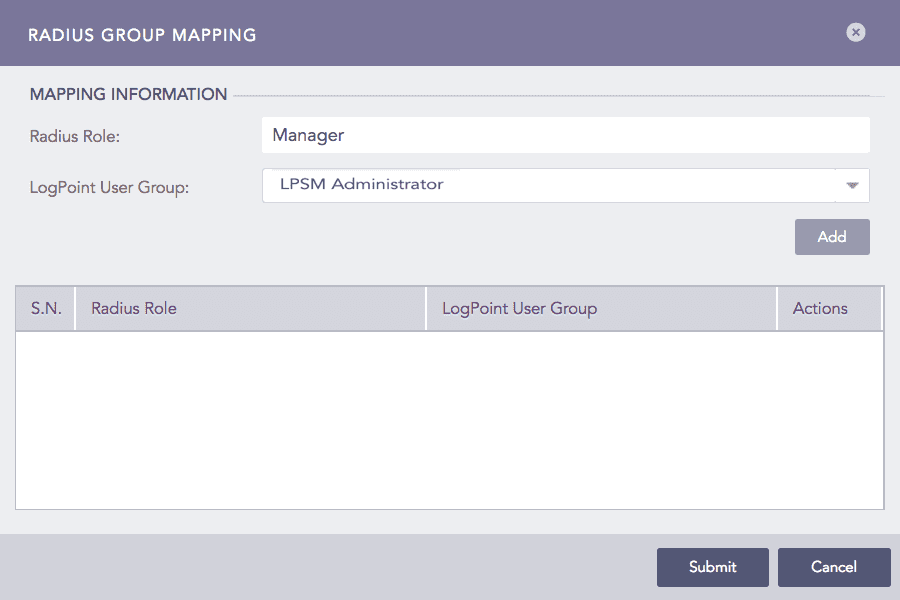
RADIUS Group Mapping
Click Add.
The table in the Radius Group Mapping panel lists the mapped RADIUS roles and LPSM user groups. You can edit or delete the added mapping from the table.
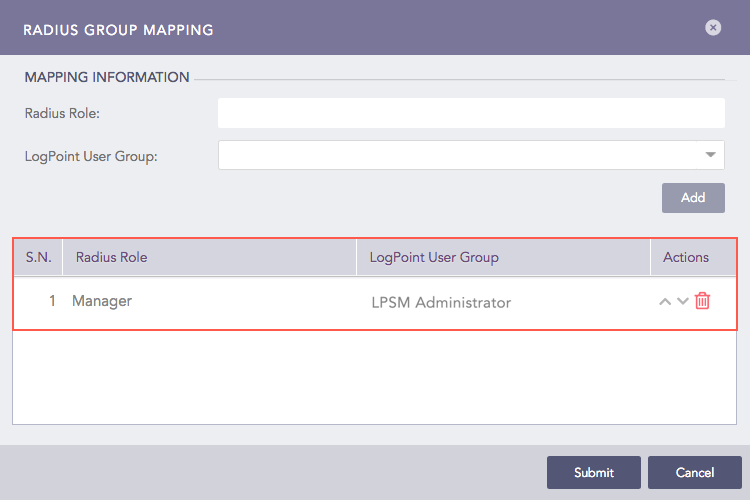
Added RADIUS Group Mapping
Click Submit.
A roles map file contains the mapping of RADIUS users with their respective RADIUS roles in a Comma Separated Value (CSV) file.
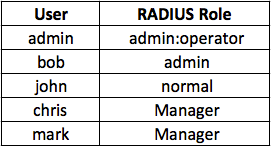
Roles Map File (CSV)
Note
To assign multiple roles to a user, separate the roles by a colon (:) in the roles map file.
Follow these steps to import a roles map file:
Click Import Roles Map.
Browse the roles map file (CSV).
Click Submit.
The RADIUS dictionary file maps the attribute numbers in the RADIUS packet to a descriptive name. Using the dictionary, you can define data types for different attributes or define new attributes of the RADIUS packets.
The Radius Authentication application includes a dictionary file by default. However, you can also import a vendor-specific dictionary file.
Follow these steps to import a dictionary in the Radius Authentication application:
Set the name of the dictionary file as dictionary. Otherwise, the application prompts the following error:

Click Import Dictionary.
Browse and open the dictionary file.
Click Submit.
You can find the default dictionary of the Radius Authentication application at the following location:
/opt/immune/installed/webserver/pluggables/modules/Authentication/apps/RadiusAuthentication/utils/dictionary
The default dictionary file consists of the following part:
#
# Version $Id: dictionary,v 1.1.1.1 2002/10/11 12:25:39 wichert Exp $
#
#   This file contains dictionary translations for parsing
#   requests and generating responses.  All transactions are
#   composed of Attribute/Value Pairs.  The value of each attribute
#   is specified as one of 4 data types.  Valid data types are:
#
#   string  - 0-253 octets
#   ipaddr  - 4 octets in network byte order
#   integer - 32 bit value in big endian order (high byte first)
#   date    - 32 bit value in big endian order - seconds since
#                                   00:00:00 GMT,  Jan.  1,  1970
#
#   FreeRADIUS includes extended data types which are not defined
#   in RFC 2865 or RFC 2866.  These data types are:
#
#   abinary - Ascend's binary filter format.
#   octets  - raw octets, printed and input as hex strings.
#             e.g.: 0x123456789abcdef
#
#
#   Enumerated values are stored in the user file with dictionary
#   VALUE translations for easy administration.
#
#   Example:
#
#   ATTRIBUTE         VALUE
#   ---------------   -----
#   Framed-Protocol = PPP
#   7               = 1     (integer encoding)
#

#
#   Include compatibility dictionary for older users file. Move this
#   directive to the end of the file if you want to see the old names
#   in the logfiles too.
#
#$INCLUDE dictionary.shasta
#$INCLUDE dictionary.shiva
#$INCLUDE dictionary.tunnel
#$INCLUDE dictionary.usr
#$INCLUDE dictionary.versanet
#$INCLUDE dictionary.erx
#$INCLUDE dictionary.freeradius
#$INCLUDE dictionary.alcatel

#
#       Following are the proper new names. Use these.
#
ATTRIBUTE       User-Name               1       string
ATTRIBUTE       User-Password           2       string
ATTRIBUTE       CHAP-Password           3       octets
ATTRIBUTE       NAS-IP-Address          4       ipaddr
ATTRIBUTE       NAS-Port                5       integer
ATTRIBUTE       Service-Type            6       integer
ATTRIBUTE       Framed-Protocol         7       integer
ATTRIBUTE       Framed-IP-Address       8       ipaddr
ATTRIBUTE       Framed-IP-Netmask       9       ipaddr
ATTRIBUTE       Framed-Routing          10      integer
ATTRIBUTE       Filter-Id               11      string
ATTRIBUTE       Framed-MTU              12      integer
ATTRIBUTE       Framed-Compression      13      integer
ATTRIBUTE       Login-IP-Host           14      ipaddr
ATTRIBUTE       Login-Service           15      integer
ATTRIBUTE       Login-TCP-Port          16      integer
ATTRIBUTE       Reply-Message           18      string
ATTRIBUTE       Callback-Number         19      string
ATTRIBUTE       Callback-Id             20      string
ATTRIBUTE       Framed-Route            22      string
ATTRIBUTE       Framed-IPX-Network      23      ipaddr
ATTRIBUTE       State                   24      octets
ATTRIBUTE       Class                   25      octets
ATTRIBUTE       Vendor-Specific         26      octets
ATTRIBUTE       Session-Timeout         27      integer
ATTRIBUTE       Idle-Timeout            28      integer
ATTRIBUTE       Termination-Action      29      integer